How to Start Streaming on Twitch: Change Username And more
Get started with Twitch streaming!
Read in
Minutes

So, you're thinking about streaming on Twitch? Awesome! It's a fantastic way to connect with people who share your interests. Whether you're a gaming guru, a creative artist, or just someone who loves to chat, Twitch can be a blast. Getting started might seem a bit daunting, but trust me, it's easier than you think.
Let's break down the process step-by-step and get you streaming on Twitch in no time!
1. Create a Twitch Account

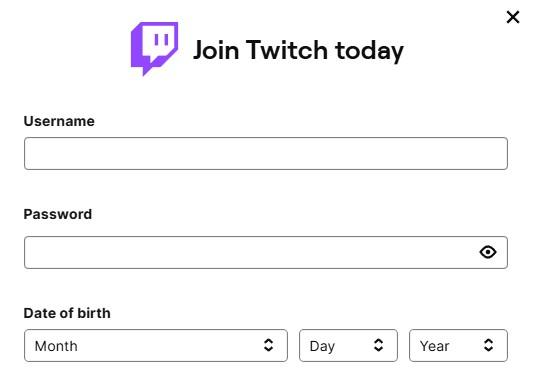
- Sign Up: Go to Twitch and create an account by filling the username and other important details..
- Verify Email: Confirm your email address to unlock features like chat access and stream customization.
Note: You can change your username but only once in 60 days. So, be careful while choosing the username for Twitch.
2. Set Up Your Streaming Gear
- Basic Equipment:some text
- A computer or console.
- A stable internet connection (upload speed of at least 50–100 Mbps is recommended).
- A microphone and webcam for better interaction (optional but recommended).
- Optional Gear:some text
- A capture card if streaming from a console (e.g., Elgato).
3. Choose a Streaming Software
- Popular options:some text
- OBS Studio (free and open-source).
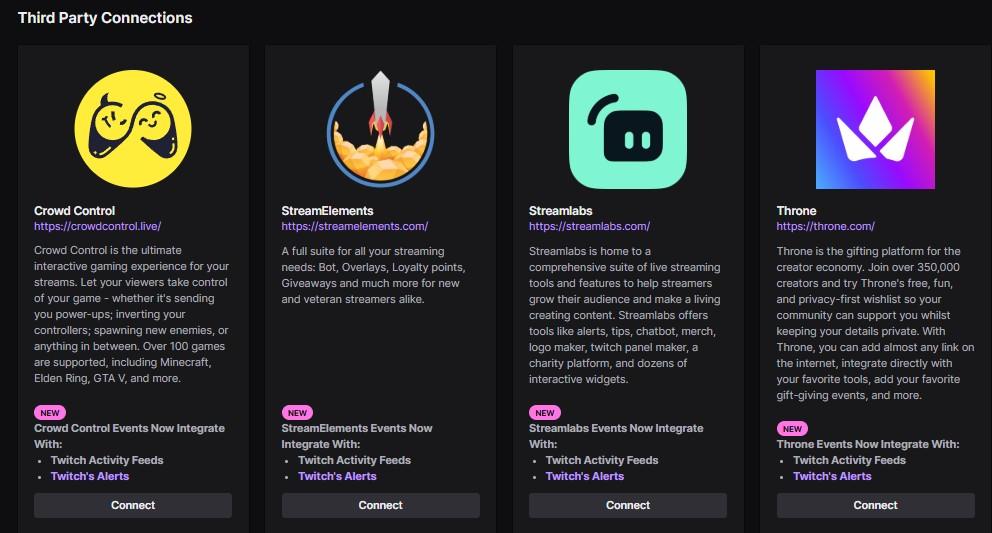
- Streamlabs OBS (user-friendly with added features).
- Twitch Studio (built specifically for Twitch beginners).
- Download and install your preferred software.

4. Configure Your Streaming Software
- Connect Twitch Account: Log in to your Twitch account through the software or copy your Twitch Stream Key (found in your Twitch dashboard under Settings > Stream) and paste it into the software.
- Set Up Scenes: Configure scenes for different stream layouts (e.g., gameplay, chatting).some text
- Add sources like your game capture, webcam, microphone, and overlays.
- Adjust Settings:some text
- Resolution: 720p or 1080p.
- FPS: 30 or 60.
- Bitrate: Adjust based on your upload speed (e.g., 4500 Kbps for 1080p at 60 FPS).
5. Optimize Your Twitch Channel

- Add a profile picture and banner.
- Write an engaging bio.
- Set up panels for links, FAQs, and social media.
6. Test Your Stream
- Use the “Test Stream” option in Twitch or do a private stream to ensure everything is working properly.
7. Go Live
- Open your streaming software.
- Start your game or set up your content.
- Click the Start Streaming button.
- Monitor chat using Twitch's dashboard or a second device.
8. Promote Your Stream
- Share Your Twitch Link: Post your Twitch link on your social media platforms like Instagram, Twitter, or Facebook to invite your friends and followers to watch.
- Trusted Growth Services: Building an audience takes time, but tools like Socioblend can help boost your initial visibility by offering services buy Twitch followers or viewers for quick organic growth and engagement packages. These can give your channel the credibility it needs to attract more viewers organically.
- Engage with Your Audience: Interact with viewers in the chat during your stream. Answer questions, respond to comments, and make them feel like part of a community. Loyal viewers are key to long-term growth.
9. Post-Stream
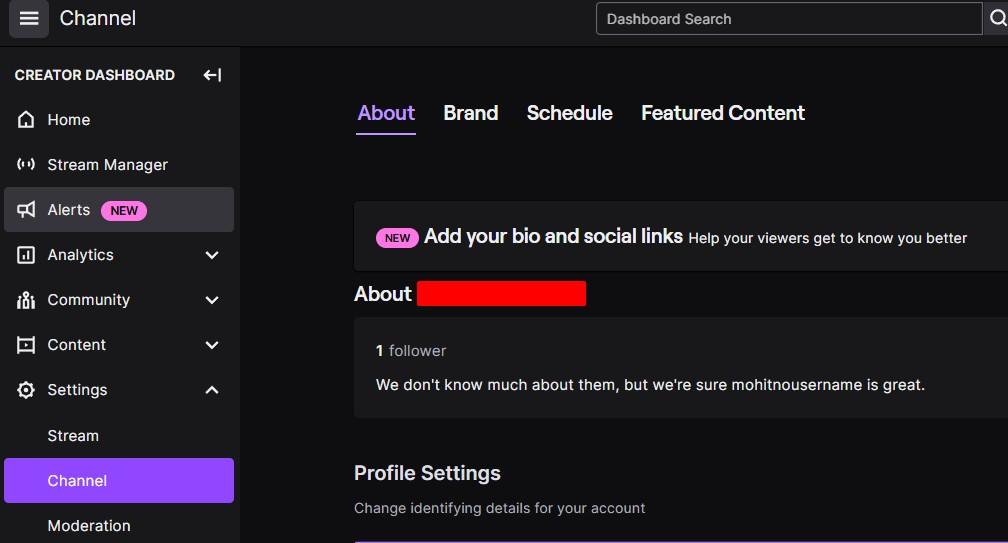
- Review your stream metrics using the Creator Dashboard to improve future streams.
- Thank your viewers and encourage them to follow your channel.
How to Change Your Twitch Username
- Log In to Twitch:
- Visit Twitch and sign in to your account.
- Visit Twitch and sign in to your account.
- Access Your Settings:
- Click on your profile picture in the top-right corner.
- Select Settings from the dropdown menu.
- Edit Your Username:
- Under the Profile tab, find the Username section.
- Click the Edit button (pencil icon) next to your current username.
- Choose a New Username:
- Enter your desired username. Twitch will check if it's available.
- Click Update to confirm the change.
- Verification:
- You may need to enter your password or verify your email to complete the process.
How Often Can You Change Your Username?
- Cooldown Period: You can change your username once every 60 days.
- Choose wisely, as you'll be locked into your new username for at least two months.
